

How to Create a Gallery Wall in 5 Easy Steps
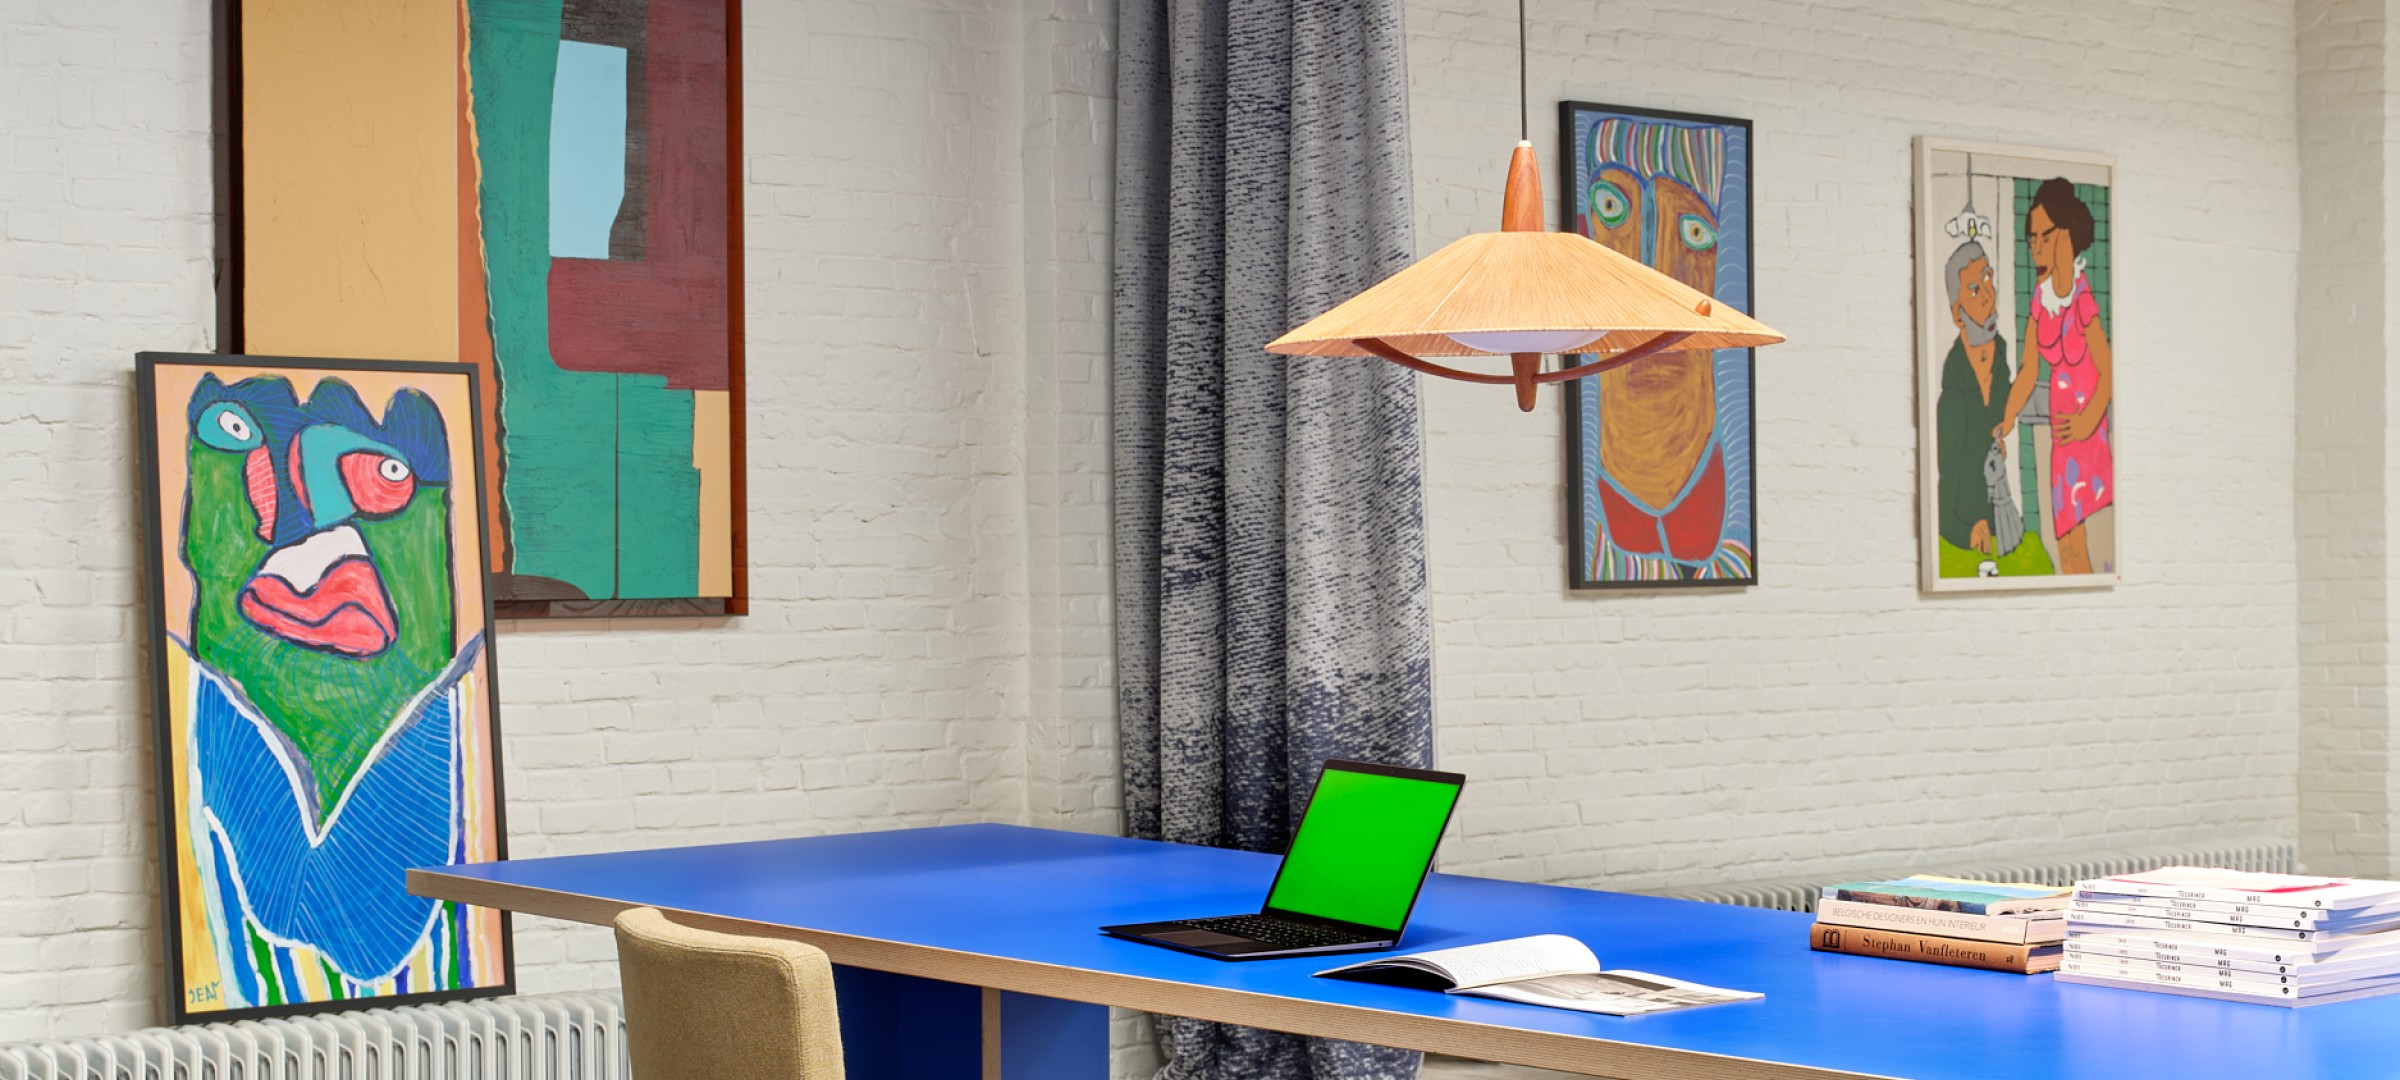

Whether you’re a seasoned collector or are starting from scratch, this is the step that will take the most time and care - and rightly so. Whether you have a preference for loud-and-proud prints, cult photography, or minimalist Danish designs, there’s no right or wrong - only what's unique to you. Opt for pieces that speak to you and feel reflective of your home.
Browse our edit of unique art for every aesthetic - and for every wall in the house.


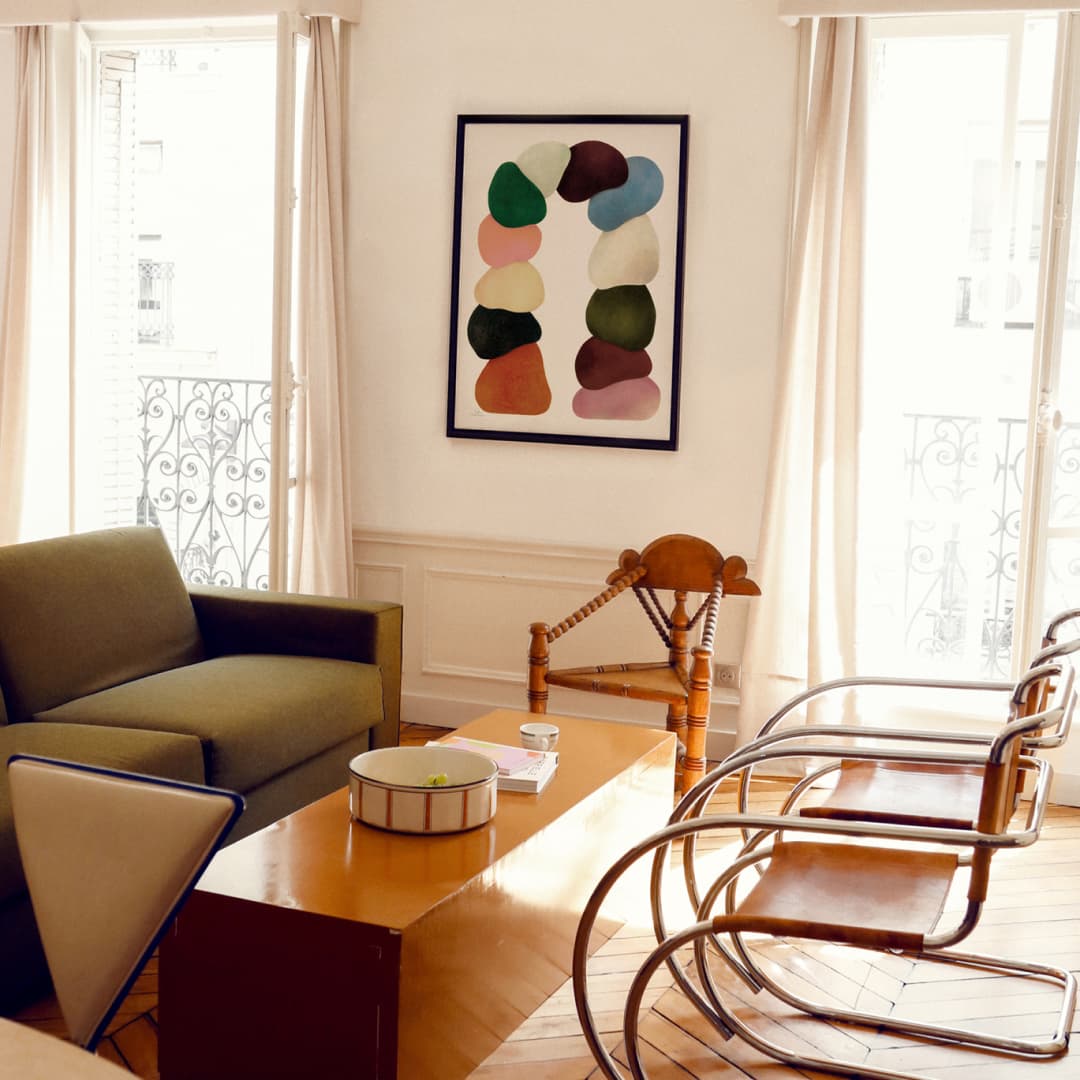
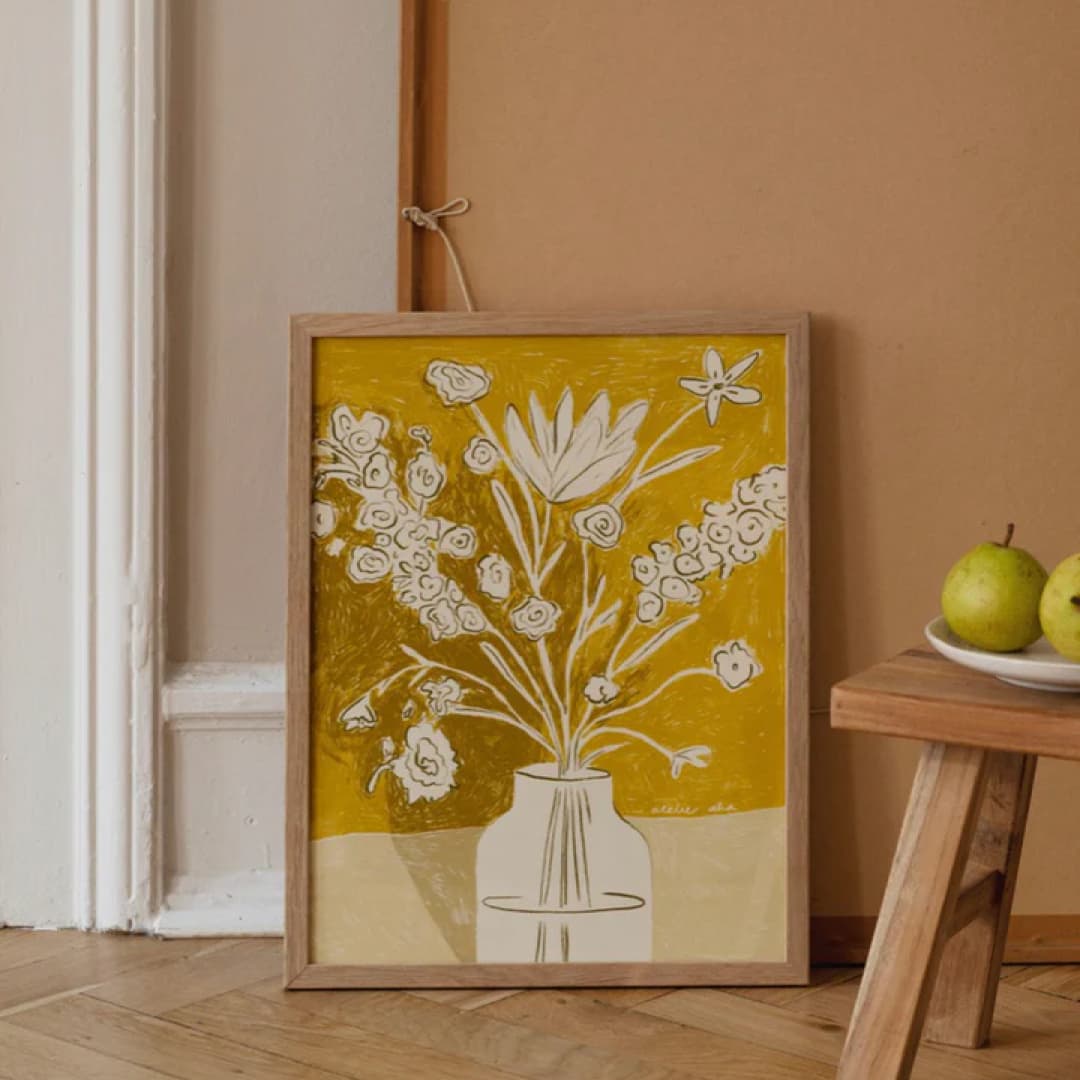
When it comes to selecting the perfect frame for your artwork, the options are endless. Neutral and complimentary frames such as black metal and natural oak are brilliant at letting your print speak for itself. On the other hand, clashing and contrasting frames in bright colours, bold patterns and unusual shapes can enhance elements of the artwork and bring your space to life. Take your time here - a well-chosen frame will work wonders on your walls.
Whether complimentary or clashing, choose a frame to make your print picture perfect.
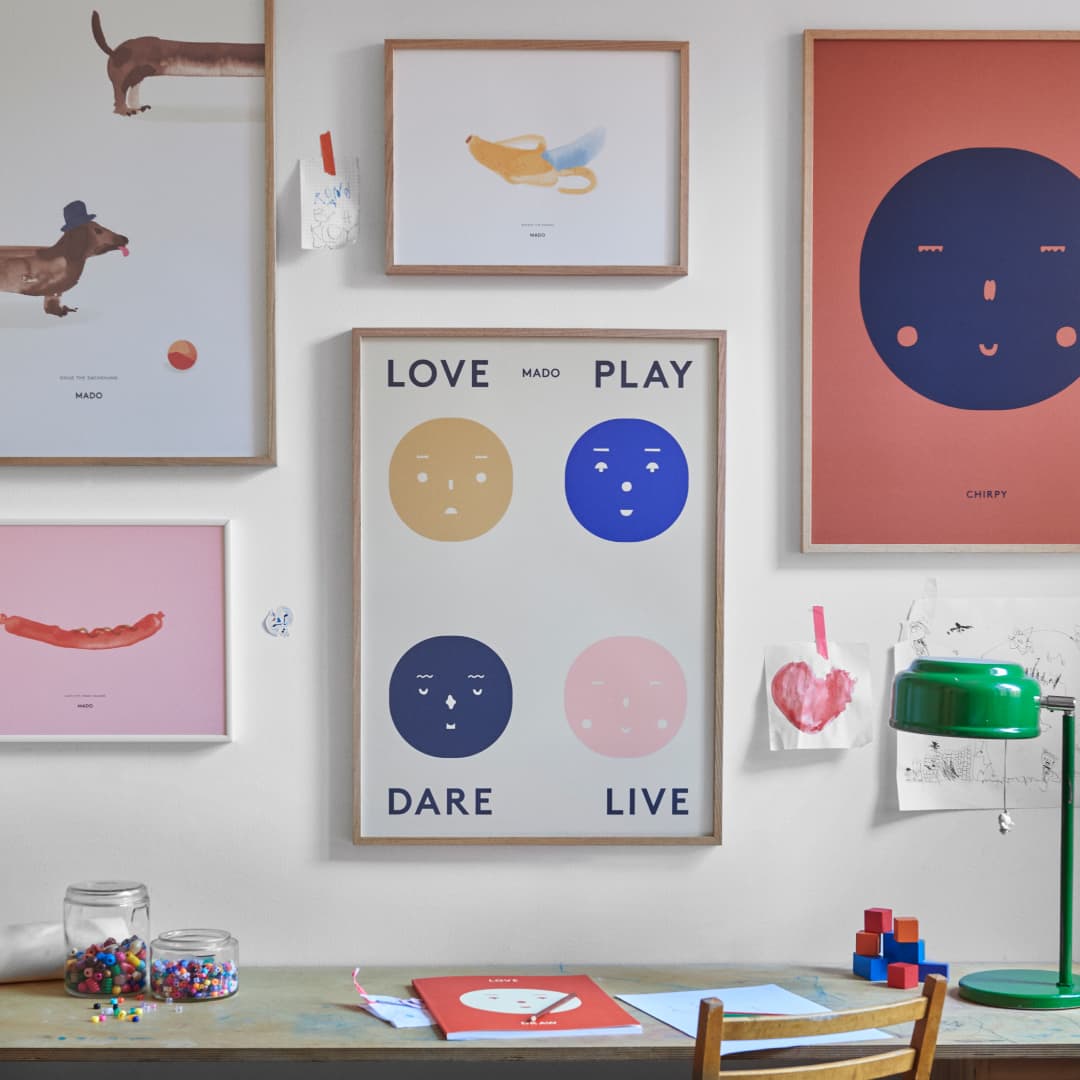
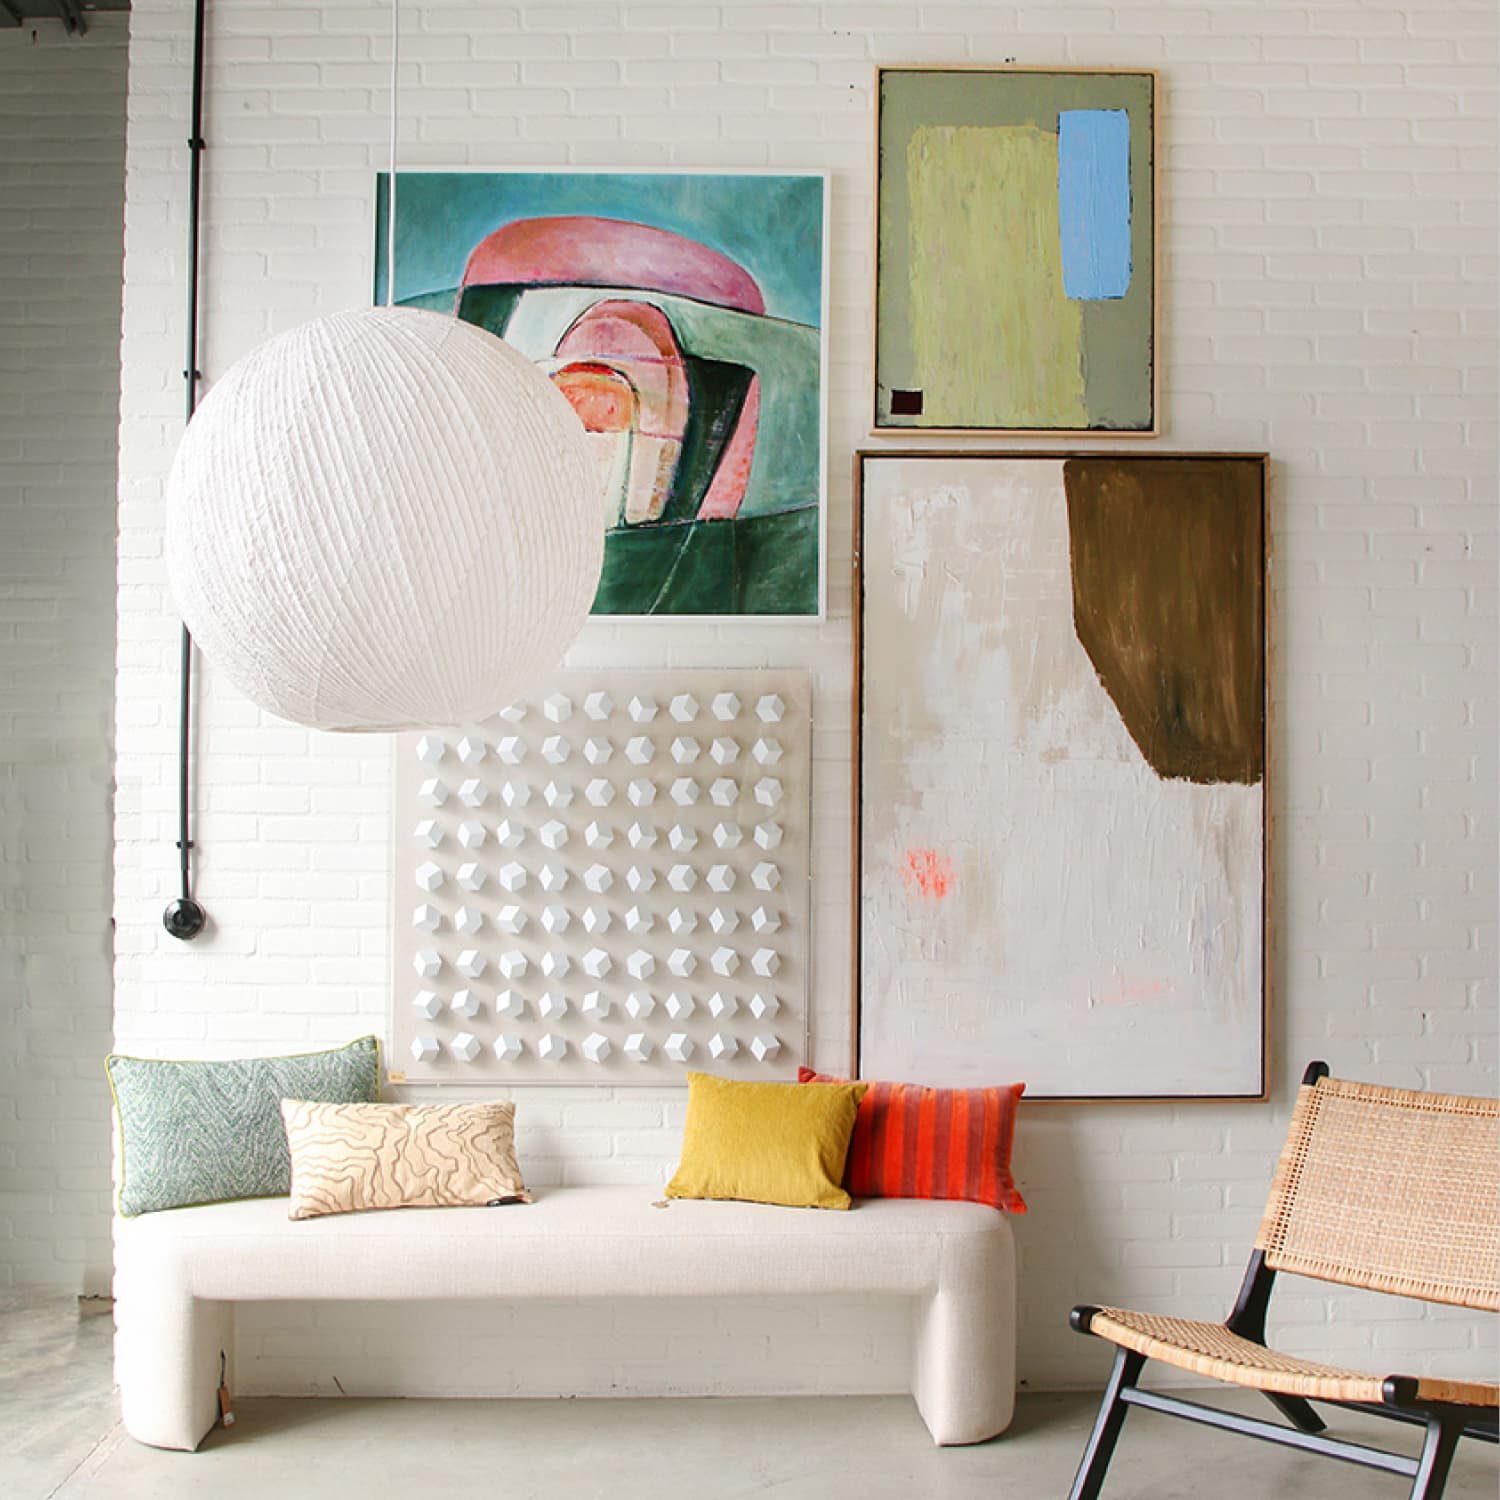
A selection box of art and frames styles can sit together harmoniously, but take time to curate the configuration before getting out the hammer and nails. “Firstly, define the area of the gallery wall,” Lasse Sigdal, founder of Danish design brand PLTY, says. "Choose one or two big frames as the centrepiece, and then mix with smaller frames.” This is the time to experiment and have fun with your at-home art gallery. “Once you have the pieces and frames you want to hang, place them all on the floor and play around with them until you find a layout you enjoy,” advises artist Carla Llanos.
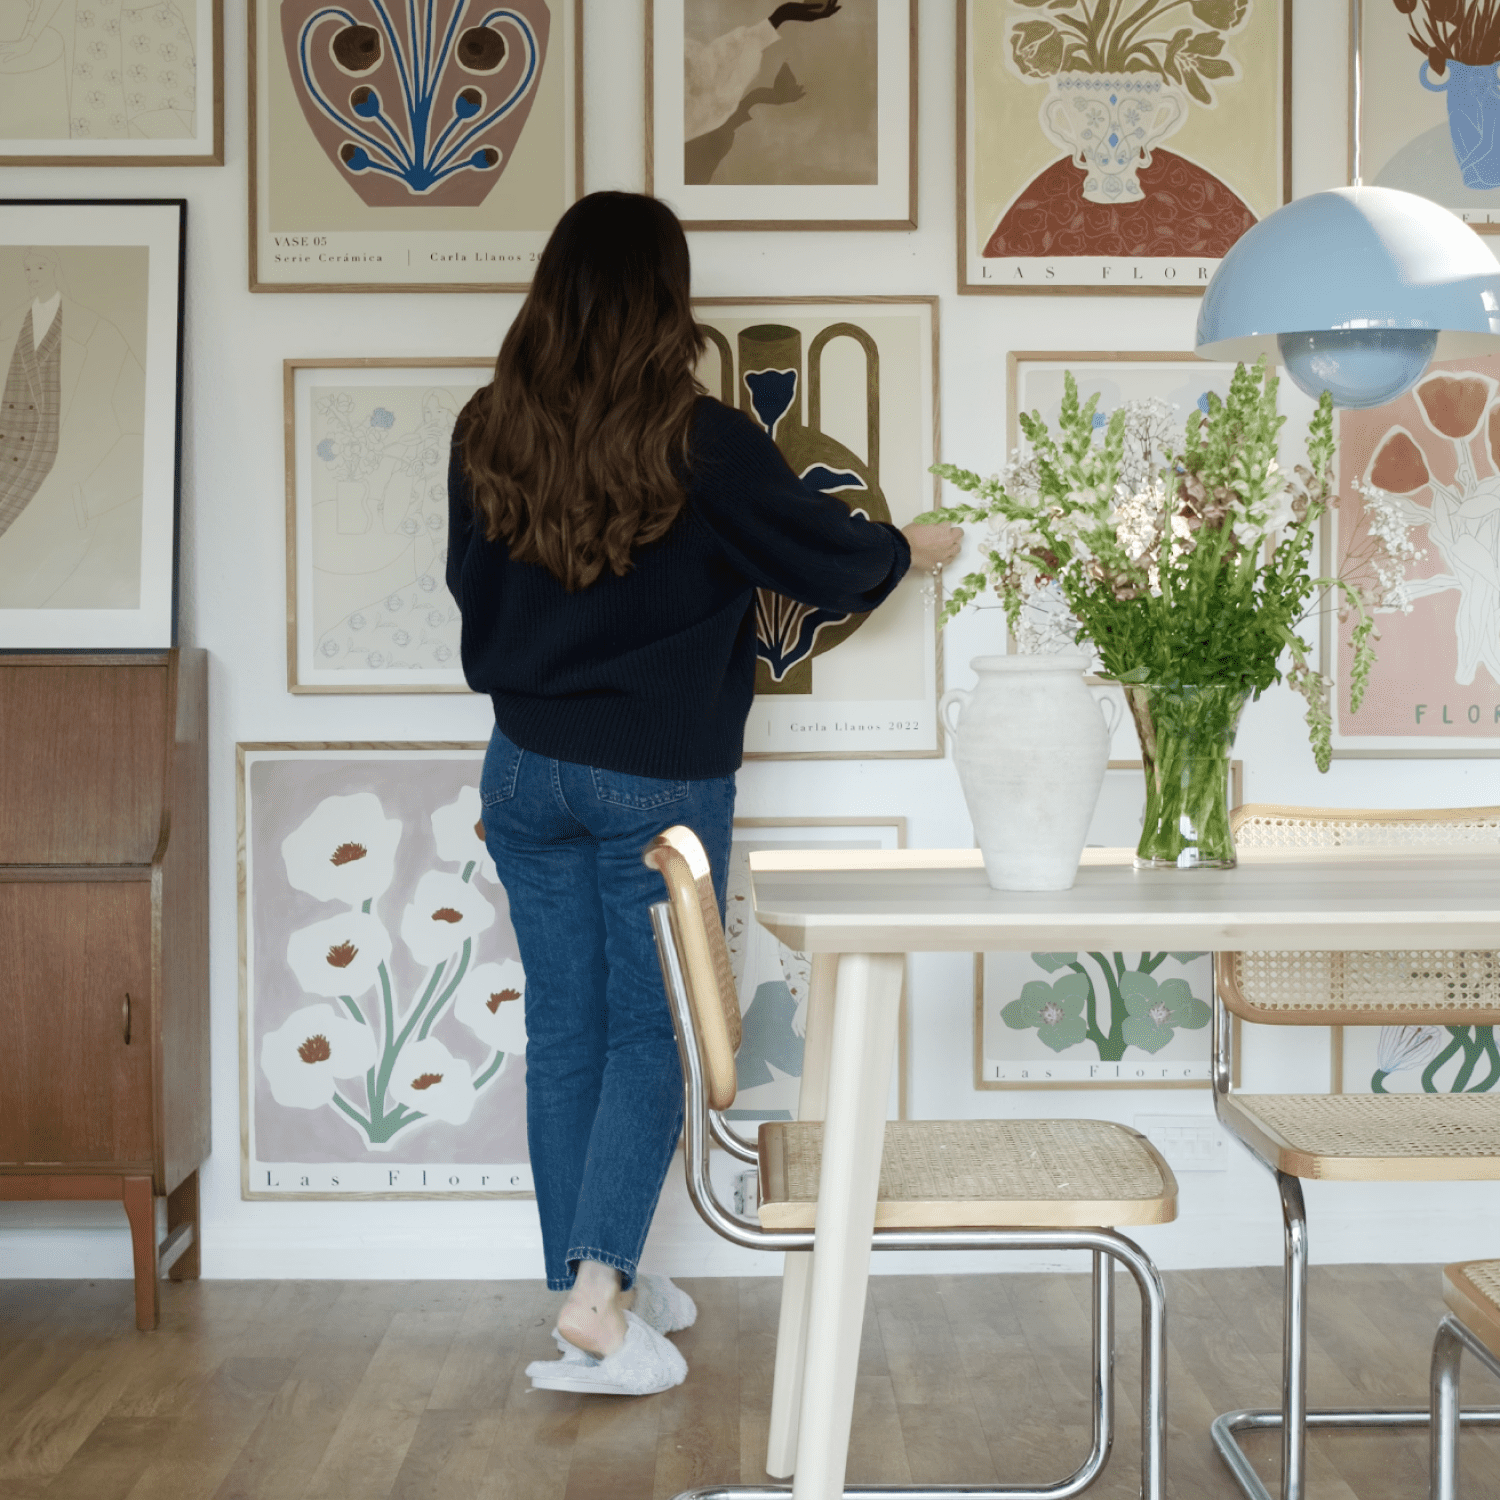
When you’re ready to hang your pieces, use a spirit or laser level to ensure your frames are aligned. "We recommend that the space between each frame is 8-15cm," says Sigdal. Next, mark your walls with a pencil to avoid any mistakes. Our top tip for keeping your nail straight? Use a clothes peg to hold your nail in place as you lightly tap the hammer on its head. Once the nail is in the wall, remove the peg and continue to gently tap until your nail feels secure and is ready for your frame. Repeat until your at-home gallery wall is complete.
Remember, obstacles can often throw up the most creative solutions. If you live in a rented space that doesn’t allow nails in the wall, consider a lean-to gallery instead. Prints of varying heights can create a real impact when layered up on a sideboard or floor, a style often chosen in warehouse spaces. If you haven’t found the perfect frame for your print, try your hand at some DIY crafts. Replicate a pattern you’ve seen and loved like pinstripe or gingham using tape, paint and a second-hand wooden frame. Alternatively, purchase wooden domes from a craft store, hot glue to an old frame and paint over for your own take on the bobbin frame.


